Excel tables (Excel for beginners session 5)
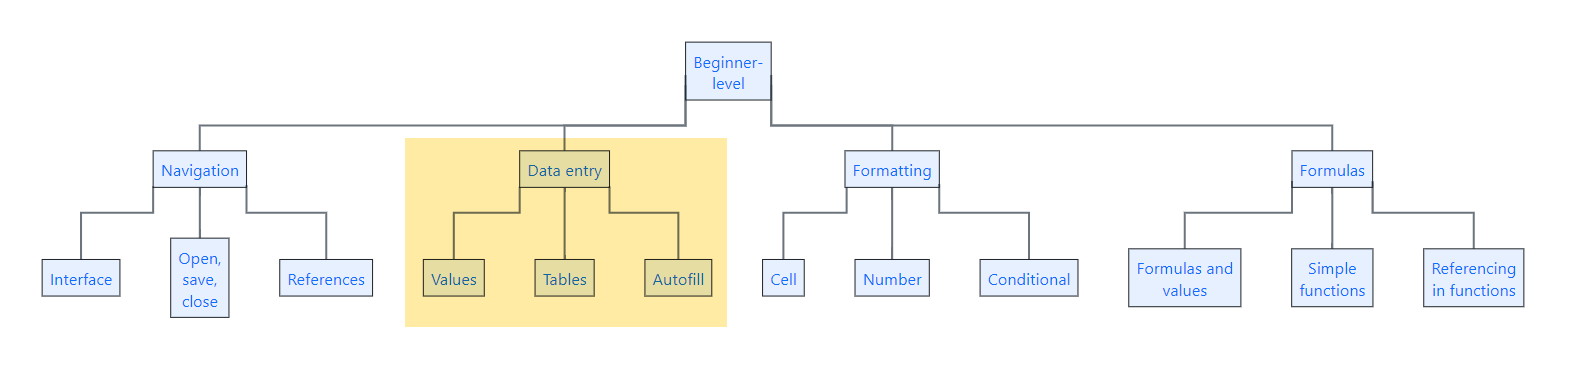
This session is part of our Excel for beginners course. That’s a series of seven linked sessions, delivered on Teams, that give an introduction to Excel for people working in health and social care. The sessions are:
- Excel first steps
- Tidy data in Excel
- References and names in Excel
- Excel formatting
- Excel tables (this session)
-
Excel formulas
- and a final practical review session to help you put your new skills to work
Together, they aim to help you develop an appropriate set of Excel skills to help your work. This session covers tables in Excel:
- for this session, you’ll need to be familiar with the Excel basics (getting around in Excel, opening/saving/closing files, A1 referencing, and values)
- we’re going to dodge formatting and formulas as much as possible today
- you might find the list of Excel shortcuts helpful too
Previous attendees have said…
- 72 previous attendees have left feedback
- 99% would recommend this session to a colleague
- 94% said that this session was pitched correctly

- Always excellent even when completely within my current skill set - Brendan is a huge asset to the community.
- really helpful
- Very well presented and engaging
Video overview
Session outline
- introduction
- add and remove tables
- grow and shrink tables
- autofill and friends
- sort and filter
- names and reference
- pass data to other tools
Introduction
- this is an easy session to sum up: use tables in Excel
- most people don’t use Excel tables
- they’re probably the best Excel skill investment there is
- this is a practical session, so you’ll need some kind of Excel to follow along
A way of thinking about tables
- imagine you have several columns of data
- you can think of a table as a container for that data:
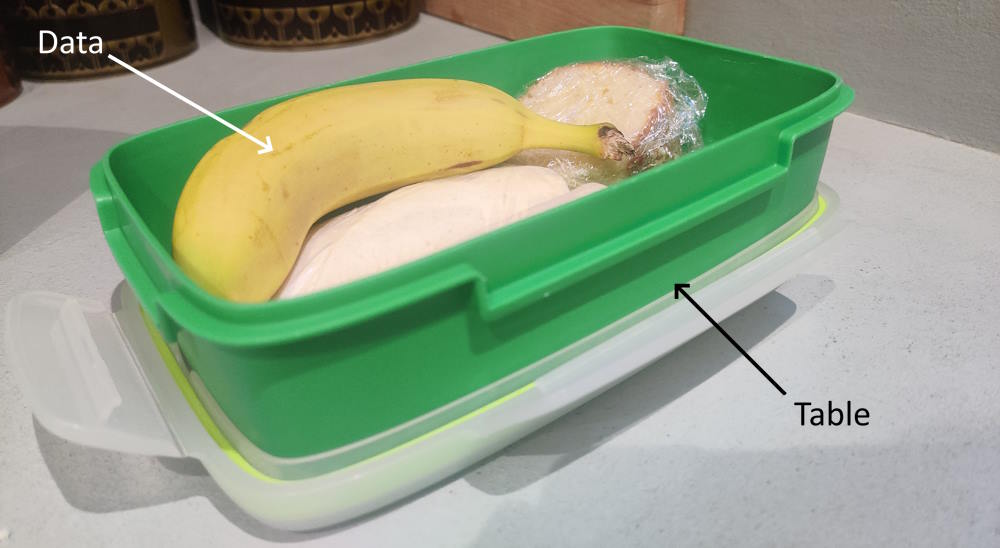
- like the lunchbox, putting data in a table helps keep your data tidy
- tables also protect your data, and make it easier to move from place to place
Some data
- tables are potentially useful throughout the life-cycle of an Excel file
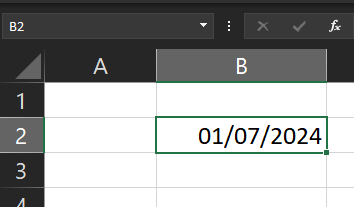
- let’s start at the beginning:
- open Excel
- in a new worksheet, please enter today’s date
- DD/MM/YYYY format is best, but we’ll park that for the formatting session
- DD/MM/YYYY format is best, but we’ll park that for the formatting session
Add a table
- make sure you have that date selected
- In the ribbon menu, go to
Insert>Table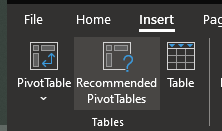
- or you can use
Ctrl+t
- or you can use
- you’ll be asked to create a table - you should be able just to select
OK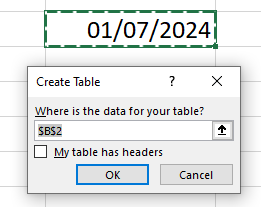
A first table
- congratulations, you should now have a 1-cell table on your worksheet
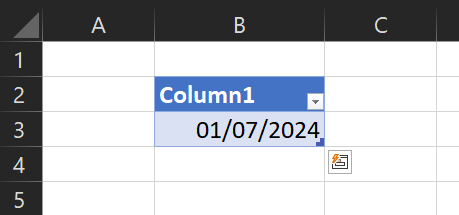
- think about this as a container for your data
- you could call it a data structure instead if you wanted to be more fancy
Removing your table
- Tables aren’t formatting - so you can’t clear them like formatting
- Click inside your table, and you should see a new section of the ribbon menu -
DesignorTable Designdepending on your version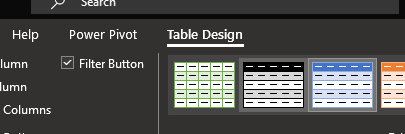
- Select that
Table Designsection. The most useful parts are on the far left:
- Select
Convert to Range- your table should now return to being an ordinary cell - Finally, please re-table your cell
Grow and shrink tables
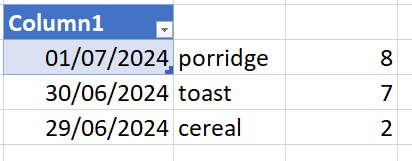
Let’s add some new data:
- Please add three or four more dates, going back into last week, in the rows below your date
- Please add a word describing your main breakfast item in the next column
- Please add a third column, scoring that breakfast out of ten
Grow and shrink tables
- Now expand your table to include that new data. You can drag the blue handle
 or use the
 Resize Tabletool in the ribbon menu .
. - You can use the same methods to shrink a table
Autofill and friends
- drag down to add two more empty rows
- select your three dates, and drag the green fill handle down into the empty cells
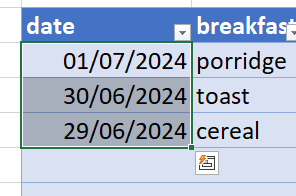
- this should populate the correct values - although you’ll need to check carefully that everything has worked
Filter and sort
Each of your column headers has a dropdown menu 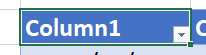 that will allow you to sort and filter your table
- sort allows you to order your table by that column
- filters shows and hides rows of the table
- you’ll have different filtering options for the different types of columns in your table
Names and reference
-
you can name each column. These work best as single descriptive words -
daterather thanbreakfast dateyou might find it helpful to write longer names in snake case (
breakfast_date) or camel case (breakfastDate)please now name your columns
-
you can also name the table as a whole. Again, that’s done from the left-hand side of the
Tablemenu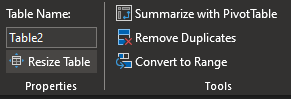
- please give your table an appropriate name
Passing data demo
- Your table can now be saved, developed further, or passed to other data tools
- Tables have major advantages on this front:
- they’re portable, so you can move a table around
- you can use structured referencing - like
=data[score]- to select an entire column by name, which helps make Excel more robust- see the intermediate Excel session on referencing
- you can send the data easily and safely to PivotTables, PowerQuery, PowerPivot, and other fancier data tools